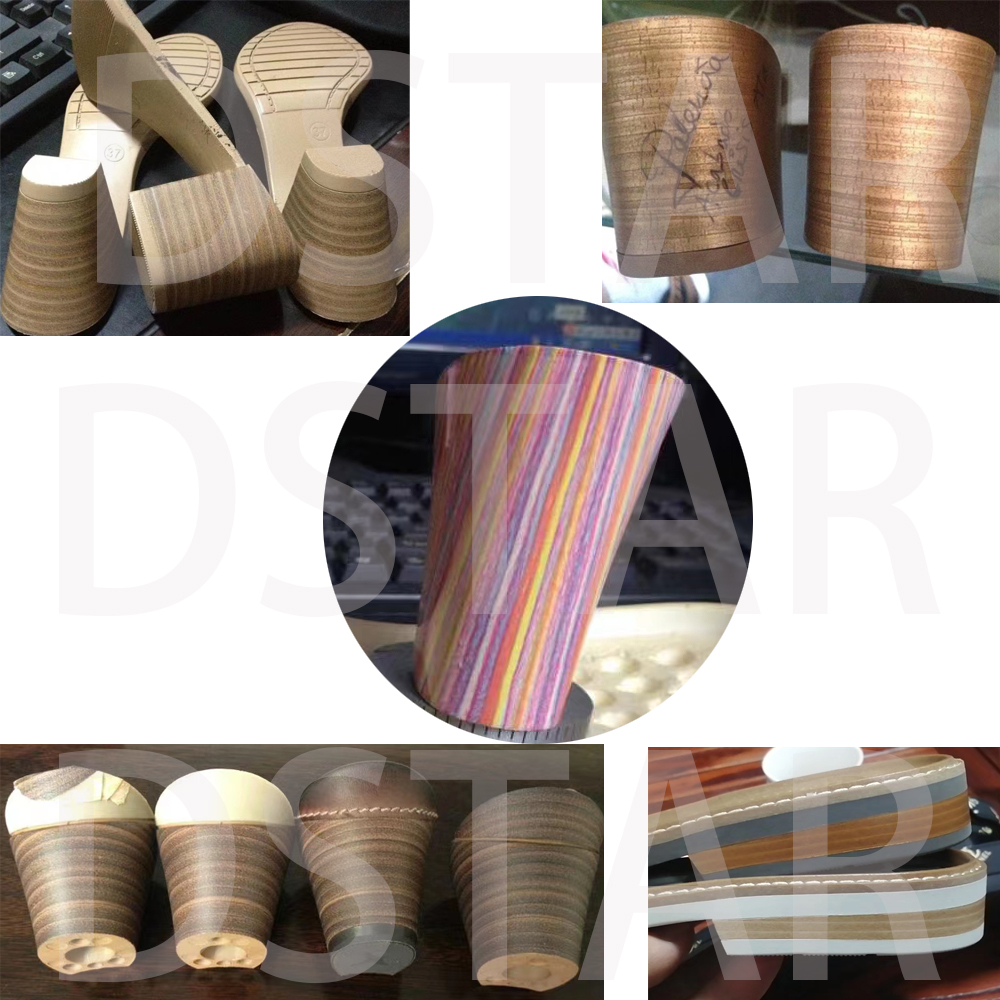
shoe heel pad printing machine?
Pad printing is a versatile printing process that can be used to print on various surfaces, including shoe heels. Here’s a general guide on how you might print on a shoe heel using a pad printing machine:

Materials and Equipment:
- Pad Printing Machine:
- Ensure the machine is suitable for printing on irregular surfaces like shoe heels.
- Cliché/Plate:
- The cliché or printing plate is a crucial element. It’s a metal or polymer plate with the image to be printed etched or engraved onto it.
- Ink:
- Select an ink suitable for the material of the shoe heel. Inks for rubber or leather might be different, for example.
- Doctor Blade:
- This is a crucial part of the machine that removes excess ink from the cliché.
- Pad:
- The pad is a silicone rubber transfer pad that picks up the ink from the cliché and transfers it to the shoe heel.
- Substrate (Shoe Heel):
- Ensure the shoe heel is clean and prepared for printing. The surface should be free from dust, oils, or any other contaminants.
Steps:
- Prepare the Cliché:
- Make sure the cliché has the desired image for printing. It should be properly aligned and securely attached to the machine.
- Ink Mixing:
- If needed, mix the ink according to the manufacturer’s instructions. Ensure the ink is suitable for the shoe heel material.
- Setup the Machine:
- Adjust the machine settings, including speed, pressure, and alignment, according to the specifications for your shoe heel.
- Ink Application:
- Apply a thin, even layer of ink to the cliché using a doctor blade. The excess ink should be removed, leaving the image in the etched or engraved areas.
- Pad Positioning:
- The pad should be positioned precisely over the cliché. It will pick up the ink from the cliché.
- Printing:
- Lower the pad onto the shoe heel with the desired amount of pressure. The silicone pad will conform to the shape of the shoe heel, transferring the ink.
- Curing:
- Depending on the ink type, you might need to cure or dry the printed image. Follow the ink manufacturer’s recommendations for curing times and methods.
- Quality Check:
- Inspect the printed image on the shoe heel for quality. If necessary, make adjustments to the machine settings for better results.
Remember to follow the specific guidelines provided by the manufacturer of your pad printing machine and ink. Additionally, always conduct tests on scrap materials before printing on actual shoe heels to ensure optimal results.
 DSTAR machine

WeChat
Scan the QR Code with wechat