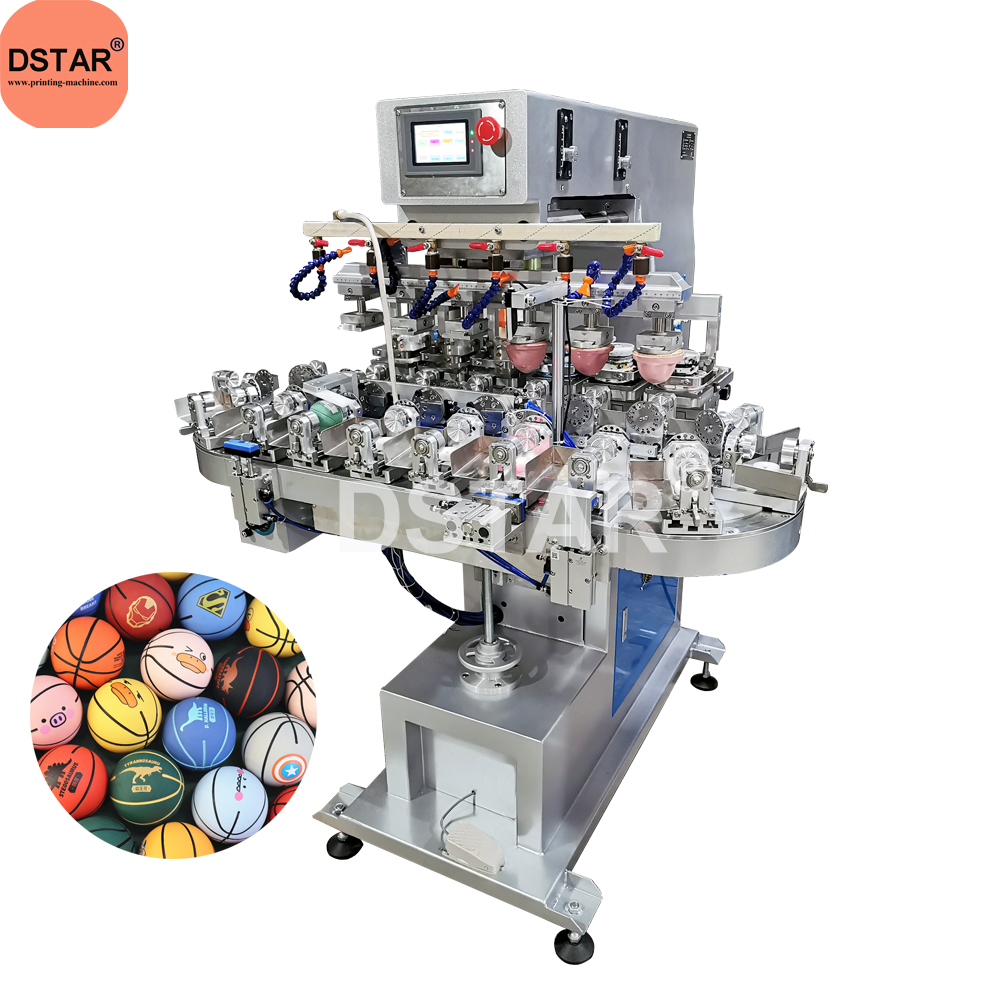
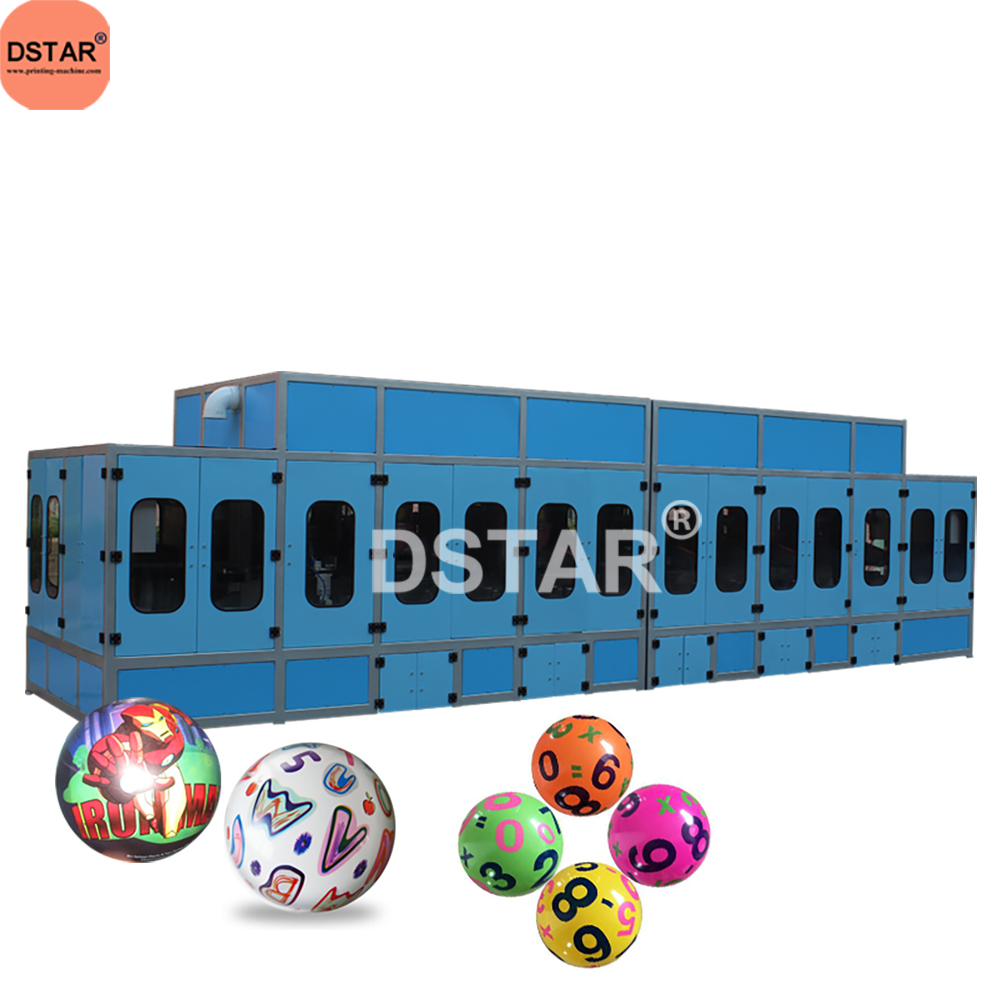
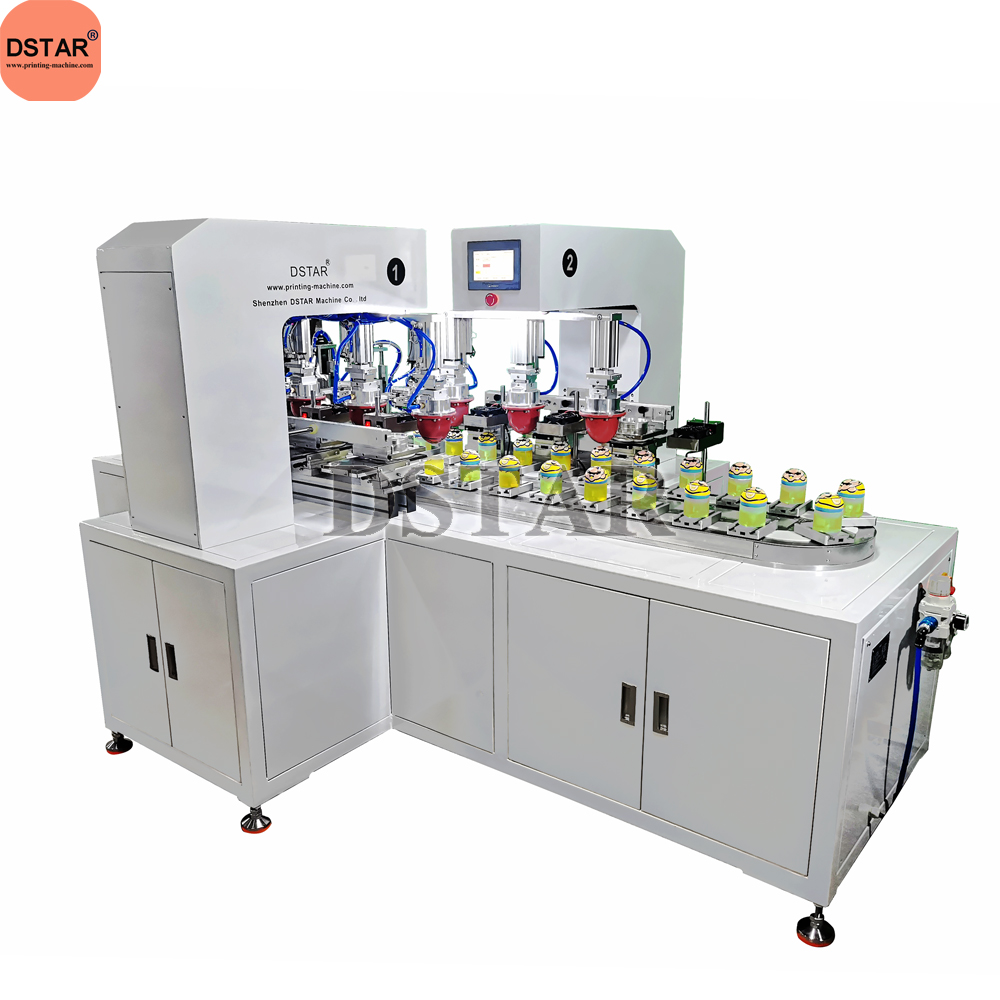
Print soccer ball or basket ball by pad printing machine
Pad printing is a versatile and efficient method used to transfer intricate designs onto various surfaces, including curved and irregular shapes like toy balls. This process is particularly useful for printing soccer or basketball patterns on toy balls, creating detailed and precise graphics. Here’s a step-by-step guide on how to achieve this using a pad printing machine:

Materials Needed of toy ball printing machine:
- Pad printing machine
- Toy balls (preferably made of plastic or rubber or PVC)
- Printing plates with the desired soccer or basketball patterns
- Silicone pads
- Ink (suitable for the material of the toy balls)
- Ink cups or ink trays
- Cleaning solution and cloths
Step-by-Step Process:
1. Design Preparation:
- Create the soccer or basketball pattern using graphic design software. Ensure the design is clear and fits the size of the toy ball.
- Transfer the design onto a printing plate (cliché). This can be done through laser engraving or chemical etching, creating a precise and detailed image on the plate.
2. Machine Setup:
- Install the printing plate onto the pad printing machine. Ensure it is securely fastened and aligned correctly.
- Fill the ink cups or ink trays with the appropriate ink. Different inks may be required depending on the material of the toy ball.
- Choose a silicone pad that matches the curvature of the toy ball. The pad should be soft enough to conform to the ball’s surface but firm enough to transfer the ink accurately.
3. Ink Transfer:
- The machine will first flood the printing plate with ink, filling the etched areas with ink while scraping off the excess.
- The silicone pad will then press onto the inked plate, picking up the ink from the etched design.
4. Printing on the Toy Ball:
- Place the toy ball in the machine’s holding fixture. The fixture should hold the ball steady and in the correct position for printing.
- The silicone pad, now carrying the ink design, will press onto the surface of the toy ball, transferring the ink.
- Carefully remove the printed ball and allow the ink to dry. This may require air drying or the use of a drying machine, depending on the type of ink used.
5. Quality Control:
- Inspect the printed toy balls for any imperfections or misalignments. Ensure the patterns are sharp and correctly positioned.
- If any adjustments are needed, recalibrate the machine or modify the printing plates and pads as necessary.
6. Cleaning and Maintenance:
- After printing, clean the silicone pads, printing plates, and ink cups thoroughly with the cleaning solution to prevent ink buildup and ensure the longevity of the equipment.
- Regularly maintain the pad printing machine according to the manufacturer’s instructions to keep it in optimal working condition.
Tips for Success:
- Test Runs: Perform test prints on a few toy balls to fine-tune the machine settings and ensure the design transfers correctly.
- Ink Selection: Use high-quality inks that adhere well to the toy ball’s material and provide vibrant, durable prints.
- Pad Selection: Choose pads of various shapes and sizes to accommodate different design elements and ball curvatures.
By following these steps, you can effectively use a pad printing machine to print detailed soccer or basketball patterns on toy balls, creating attractive and high-quality products. Pad printing offers precision and efficiency, making it an ideal method for this type of application.


 DSTAR machine

WeChat
Scan the QR Code with wechat