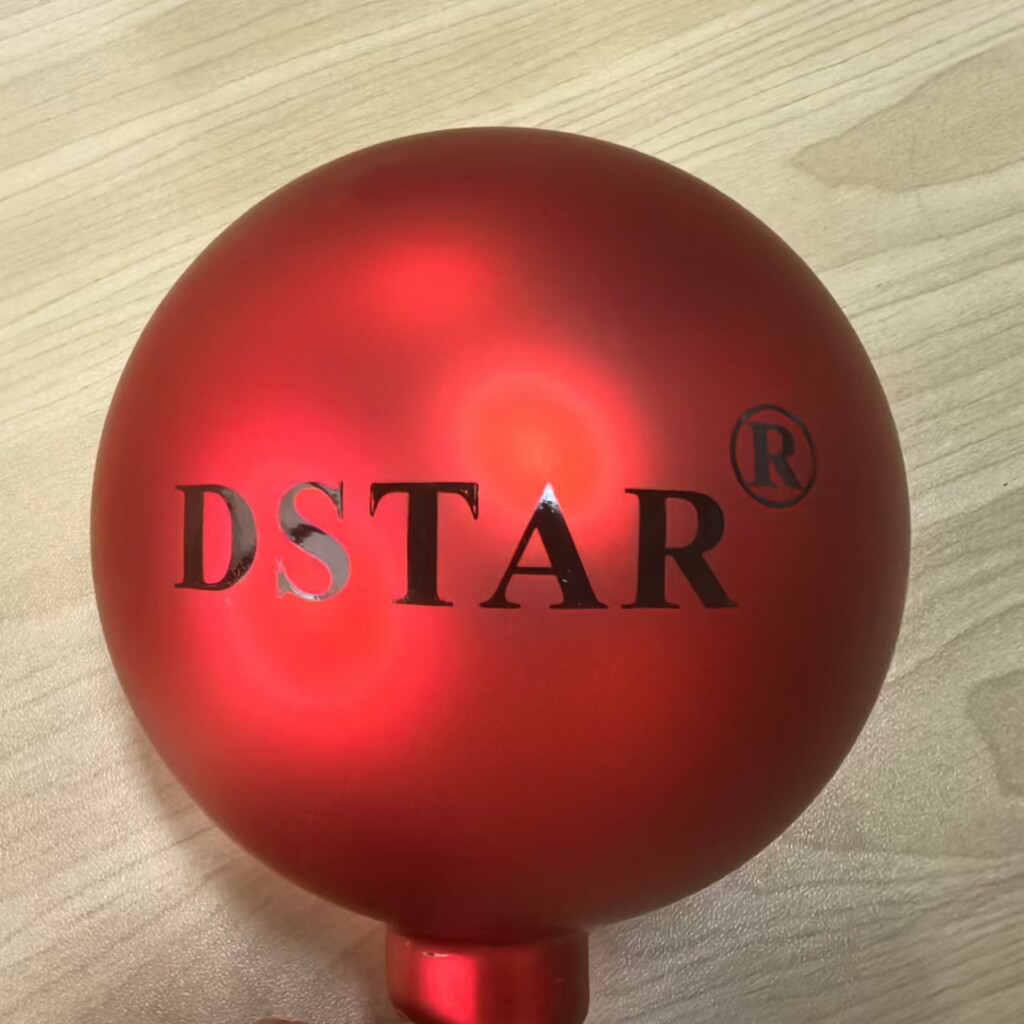
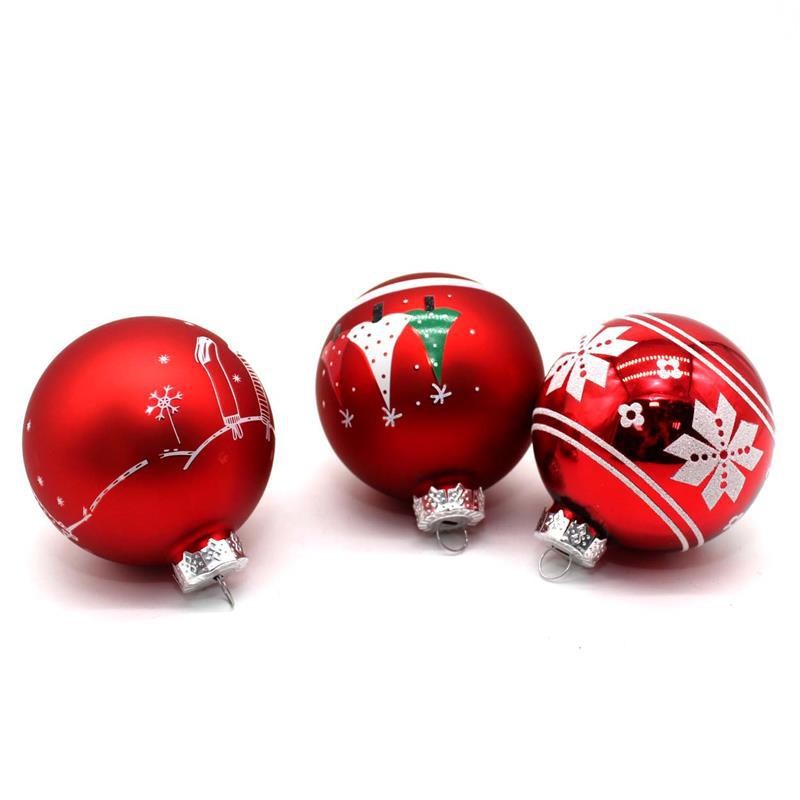
how to print christmas ball?
Printing on Christmas balls using a pad printing machine involves several steps, as the process is adapted to handle the spherical and often delicate surface of the ornament. Here’s a step-by-step guide:


1. Prepare the Artwork
- Design Creation: Create or obtain the design, logo, or text you want to print. Ensure that it’s properly sized for the Christmas ball.
- Plate Making: Transfer the design to a printing plate (cliché) using photopolymer or laser engraving techniques.
2. Set Up the Pad Printing Machine
- Machine Calibration: Adjust the pad printing machine for the size and shape of the Christmas ball. Some machines have specific settings for spherical objects.
- Ink Preparation: Mix the ink according to the color and opacity required. Make sure it’s suitable for the material of the Christmas ball (typically plastic, glass, or metal).
- Pad Selection: Choose a silicone pad with the appropriate hardness and shape. For Christmas balls, a softer pad with a rounded shape is often preferred to conform to the spherical surface.
3. Position the Christmas Ball
- Fixture Design: Use a fixture or jig to securely hold the Christmas ball in place during printing. The fixture should allow the ball to rotate or remain stable, depending on the design.
- Placement: Position the Christmas ball in the machine so that the area to be printed is aligned with the pad.
4. Printing Process
- Ink Application: The machine applies ink to the printing plate. The inked design is then transferred from the plate to the pad.
- Pad Transfer: The pad presses onto the plate, picks up the ink, and then presses onto the Christmas ball, transferring the design.
- Multiple Colors: If the design requires multiple colors, this process may be repeated with different plates and inks. Ensure that each layer is properly aligned.
5. Curing
- Drying: Allow the ink to dry, which may require passing the printed Christmas balls through a drying oven or letting them air dry.
- Curing: Depending on the ink type, curing under UV light or heat may be necessary to ensure the print is durable and smudge-resistant.
6. Quality Control
- Inspection: Check the Christmas balls for print quality, ensuring that the design is correctly aligned and that the ink is evenly applied.
- Touch-ups: If necessary, minor touch-ups can be done manually.
7. Packaging
- Final Preparation: Once the ink is fully cured, the Christmas balls can be packaged for storage or shipment.
Tips:
- Practice Runs: Before mass production, conduct a few test prints to ensure that the settings, ink, and pad are all correct.
- Consistency: Regularly check and maintain the machine to ensure consistent print quality throughout the production run.
- Material Consideration: Be mindful of the type of material the Christmas ball is made of, as this will affect the choice of ink and curing process.
By following these steps, you can achieve high-quality prints on Christmas balls using a pad printing machine.
#christmasballprinting #padprintingmachine #ballprintingmachine
 DSTAR machine

WeChat
Scan the QR Code with wechat