pad printing plate making procedures
Introduction: Photopolymer pad printing plates are widely used in the printing industry for transferring images onto various objects, such as promotional products, electronic devices, and industrial parts. This versatile printing technique allows for precise and high-quality image reproduction. In this article, we will guide you through the process of making a photopolymer pad printing plate, enabling you to create professional prints with ease.The more details can contact with sales from DSTAR Machine.
Materials Needed:
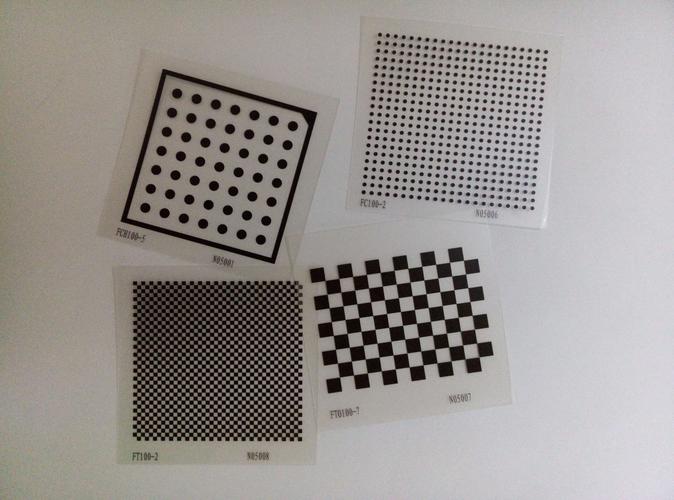
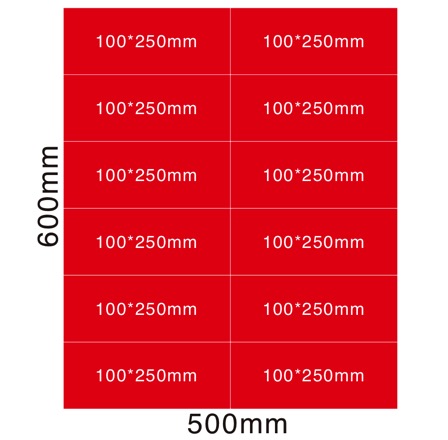
Preparation
- Film (usually is made by imagesetter or CTP equipment
- Ready size photopolymer pad printing plate (alcohol washing type or water washing type)
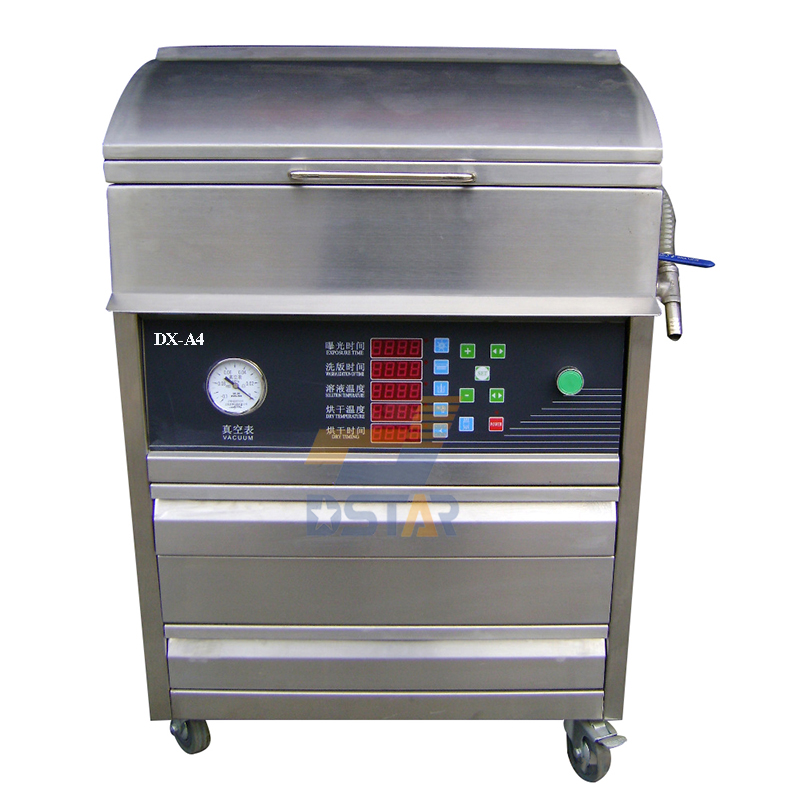
- Exposure machine (DX-A4 exposure machine include exposure,washing,drying function)
Step 1: Prepare the Artwork Begin by creating or obtaining the desired artwork or design that you want to print. It’s important to ensure that the artwork is suitable for pad printing, as intricate details and fine lines may not transfer well.
Step 2: Print the Artwork onto Transparency Film Print the artwork onto a transparency film using a high-resolution printer. Make sure the print is clear and opaque, as this will aid in creating a precise photopolymer plate.
Step 3: Prepare the Photopolymer Plate Take a clean photopolymer plate and remove any protective coverings. Place the plate on a flat, stable surface, ensuring it is free from dust or debris.
Step 4: Position and Secure the Artwork Carefully align the printed transparency film with the photopolymer plate, ensuring that the image is in the correct orientation. Secure the transparency film onto the plate using transparent tape, making sure it is taut and wrinkle-free.
Step 5: Expose the Plate to UV Light Place the prepared plate in an exposure machine with the transparency film facing down. Close the unit and expose the plate to UV light for the recommended exposure time. This duration may vary based on the type and thickness of the photopolymer plate being used.
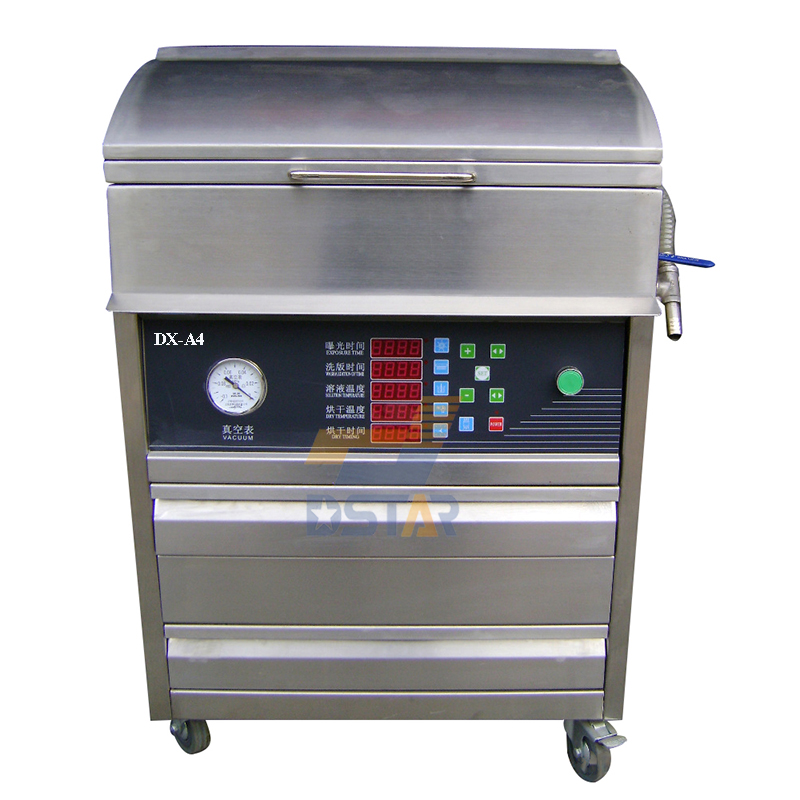
Exposure machine for photopolymer pad printing plate
Model:DX-A4
Functions:exposure-washing-drying-post exposure
Voltage:AC110V or AC220V /Single phase
Power:200W
Size:L50*W40*H60cm
Step 6: Rinse the Exposed Plate After the exposure, remove the plate from the light source and carefully peel off the transparency film. Rinse the plate under running water to remove any unexposed photopolymer. Use a soft brush or sponge to gently scrub the plate’s surface, ensuring all unexposed areas are thoroughly washed away.
Step 7: Develop the Plate Submerge the plate in an alcohol-based or water washing plate developer solution, following the manufacturer’s instructions. Agitate the plate gently for a few minutes, allowing the developer to remove the unexposed photopolymer. Rinse the plate with water to remove any remaining developer.
Step 8: Dry the Plate Place the developed plate on a plate drying rack, allowing it to air dry in a dust-free environment. Avoid exposure to direct sunlight during the drying process.
Step 9: Post-Exposure Treatment Apply a water-based post-exposure solution to the plate’s surface to enhance its durability and optimize its printing capabilities. Follow the instructions provided by the manufacturer for the appropriate duration of the post-exposure treatment.
Conclusion: By following these step-by-step instructions, you can create your own photopolymer pad printing plate. This cost-effective and versatile printing technique opens up a world of possibilities for transferring high-quality images onto various objects. Whether you are in the printing business or simply interested in DIY projects, mastering the art of creating photopolymer pad printing plates will undoubtedly expand your creative horizons.
 DSTAR machine

WeChat
Scan the QR Code with wechat